7 Camera settings to shoot better video on DSLR & mirrorless
Don’t think that just because you have a fancy camera and an expensive lens suggested by a Youtuber that you’ll get clean, crispy video with no problems.
You can get amazing results with the cheapest and most basic cameras if you know what you’re doing. Inversely, you can get some pretty gross results with “good cameras” if you don’t know what you’re doing. I see it all the time!
One of the most useful things you will do in your video creation journey is learn the settings of your camera so you can adapt to the different situations you’re in.
I have 7 settings that I check every single time I shoot video in order to get great results. You can watch the tutorial for explanations of these or read below for a quick summary.
DISCLAIMERS:
1) This is a crash course for beginners
2) This assumes you have your memory card, battery and you attached your lens properly
3) The camera I use to demonstrate is Canon but these are universal for modern DSLRs and mirrorless cameras.
CHOOSE YOUR FRAME RATE
This is the frames by second your video is recording in, a.k.a. the number of individual pictures your sensor captures every second to create motion.
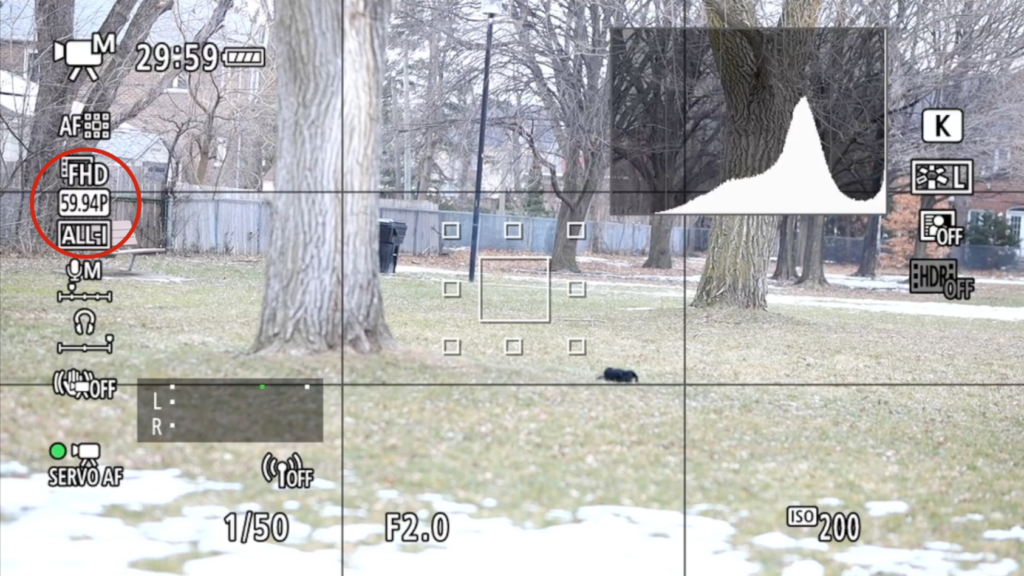
Choose 24fps (frames per second) if you want your video to look more “cinematic”. By “cinematic”, I mean with more of a look of movies.
Some cameras will show 23.98fps. For all intents and purposes, this is the same thing.
If you want to do any kind of slow-motion in the editing, you need to choose at least 60fps. The more FPS, the more you can slow down the action and maintain smooth motion.
Some cameras will show 59.94fps. For all intents and purposes, this is the same thing.
You’ll find 30fps used more in the network television space. So in the news and even TV shows. This is very close to 24fps. Because there are more images captured per second, the action is a bit smoother.
SET YOUR SHUTTER SPEED
The rule of thumb is to set your shutter speed to double your frame rate.
For example: If you’re shooting at 24fps, you should have a shutter speed of 1/48 (24 times 2 is 48). Because DSLRs and mirrorless cameras don’t have a 1/48 speed, we choose the closest speed, which in this case is 1/50
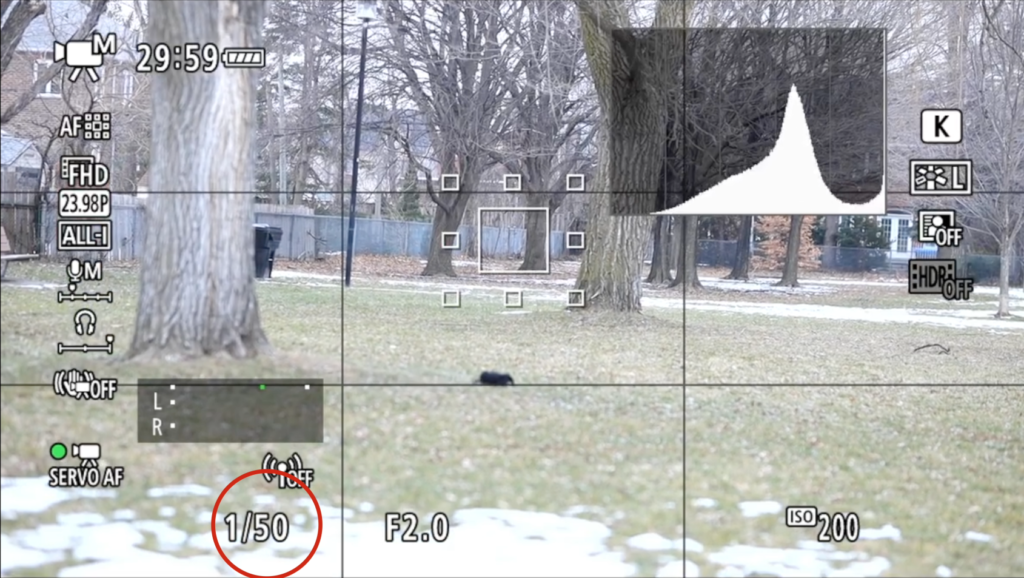
This rule also applies to 60fps, 30fps, 120fps and so on. Your corresponding frame rates would be 1/125, 1/60 and 1/250.
If you’re in a pinch and you don’t have control of the light or ND filters, you can “cheat” and set the shutter speed higher if you’re overexposed. You’ll just have action that is slightly choppier.
Just don’t go under the recommended shutter speeds. You’ll see weird blurring.
SET YOUR APERTURE
Ask yourself this primary question:
Do I want to have my subject in focus and have everything else blurry OR do I want my background to also be in focus?
If you want to isolate your subject, use a low F-stop number. If you want to have more in focus, use higher F-stop numbers.
See a more detailed explanation of ISO on an upcoming post.
SET YOUR ISO
ISO is your sensor’s sensitivity to light. After a certain point, it creates “artificial brightness” or, as I like to call it, “fake light”.
The resulting fake light can introduce lots of unpleasant graininess in your shot, which also kills some of the vibrance of your video clip.
With that being said, maximize your brightness with the previous settings first then add the least amount of ISO needed to get your image bright enough.
See more on ISO on an upcoming post.
CHOOSE YOUR WHITE BALANCE
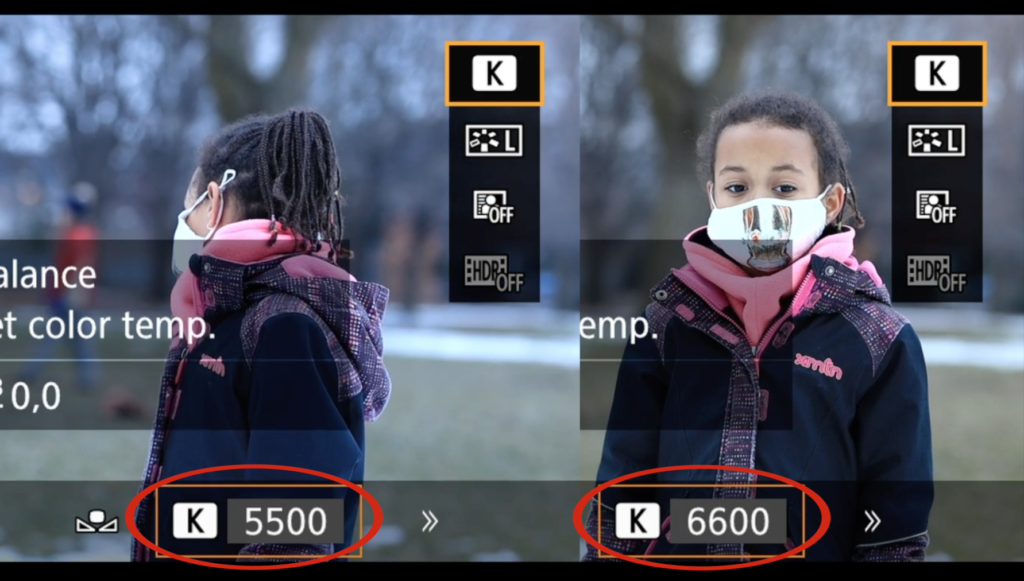
The white balance is how blue or orange your image looks.
If your camera is able to, use the Manual Kelvin setting to match what you see with your eyes to what’s on the back of the camera
If your camera is more entry-level and doesn’t have this function, choose the preset that’s the closest to what you want your image to look like.
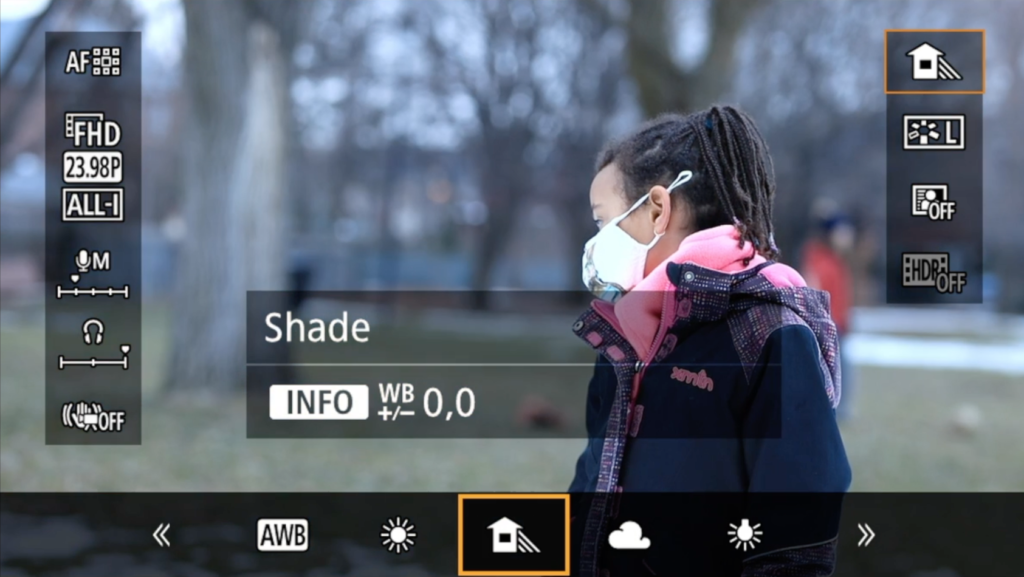
I would personally stay away from the auto white balance because that can change mid-shot and that would be annoying to deal with in post if you’re hoping to control your look.
CHOOSE YOUR COLOUR PROFILE
The colour profile is the look you apply to your shots. This will accentuate or reduce certain colours. It also affects attributes like contrast and vibrance.
If you’re hoping to do some fancy colour work in your edit, shoot in the flattest and simplest profile available to you. Unlike photography, it’s incredibly difficult to change video colours once it’s recorded. So get it as close to what you want or as flat as possible.
If you have no interest in tweaking colours or need to have a fast turn-around, choose one of the built-in preset that suit your taste.
SET YOUR MICROPHONE VOLUME
DSLRs and mirrorless cameras are notorious for having poor sound capturing capabilities so I would always suggest using an alternate source of audio capture if you want good sound.
This can be as complicated as recording the sound from an external device and synchronizing in the editing OR as simple as plugging in a microphone into your camera to improve sound capture.
Whether you use another device for sound or you go raw with the camera microphone, set your microphone volume for what you’re trying to capture.
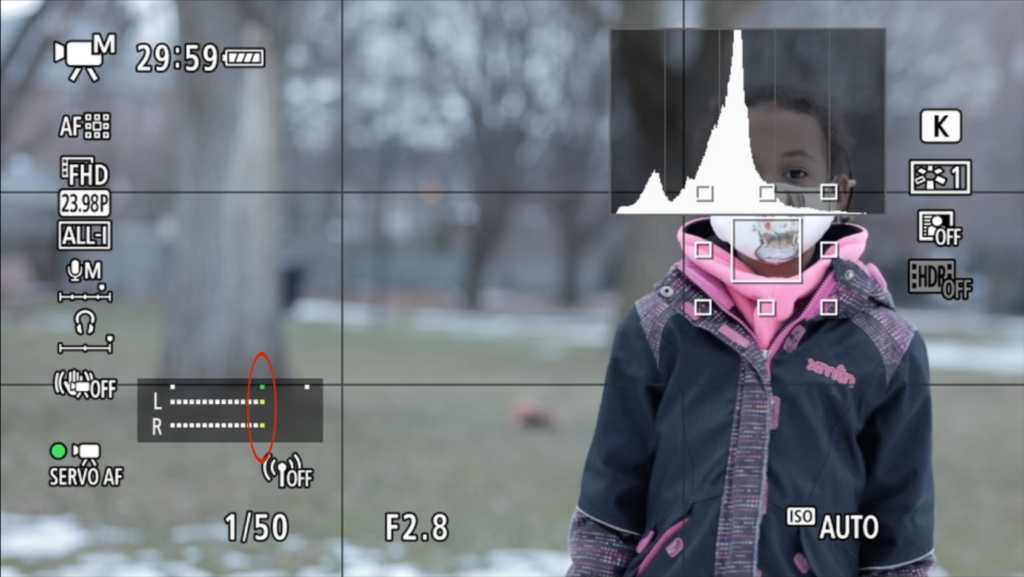
Make sure the meter is hovering between -18dB and -12dB… -6dB at maximum! If your camera doesn’t have measurements on the sound meter, keep the level in the green (or white), just starting to touch the yellows. Orange and red zones on the meter are bad. These mean that your audio is “clipping”, a.k.a. being distorted because the input is too much for the recording device to handle.
Welcome to the journey of making videos. I’m not going to lie: making good quality videos is not easy. But with some good ol’ practice and learning from each session, it will become second nature.
Feel free to ask any questions or check out the accompanying Youtube video for more details and examples.
But for now, stay courageous, friends!