A good video editing workflow to edit faster
Today I’m taking some extra time to discuss one of the most requested topics on my channel to date: editing workflow.
If you plan on making videos regularly, it’s probably crossed your mind to find a good editing workflow to edit faster. No one wants to spend more time editing a project than needed.
Here I’ll discuss my personal video editing workflow that I use to post multiple videos weekly. I’ve picked up some stuff from other editors, my research, and my own video editing experience for the last 10+ years.
I’ll break down the 8 steps here. For a bit more detail and some demonstration, see the accompanying video to this post.
COPY
Copy all your footage and other files you’ll be using in your project to the same fast storage media for editing.
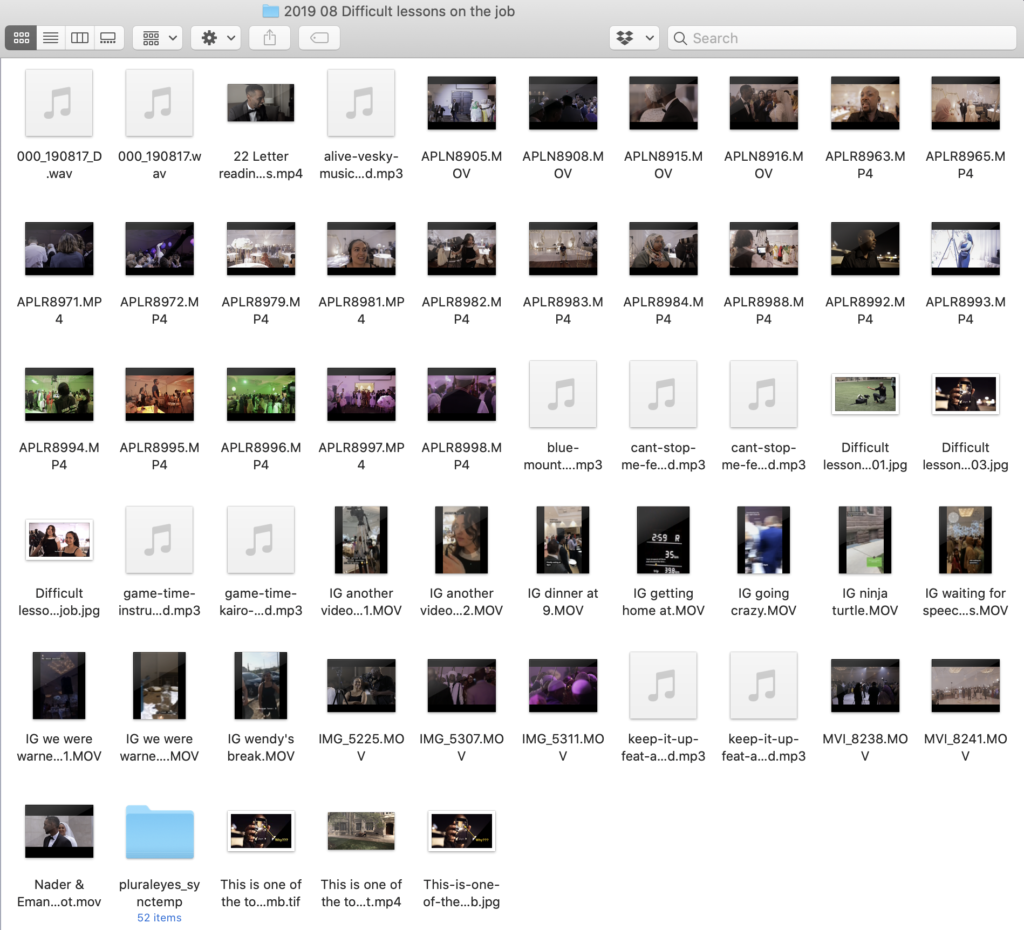
See this post about storage locations for video editing.
IMPORT
Now that you’ve gotten all the files in one place, import them to your editing program.
ORGANIZE
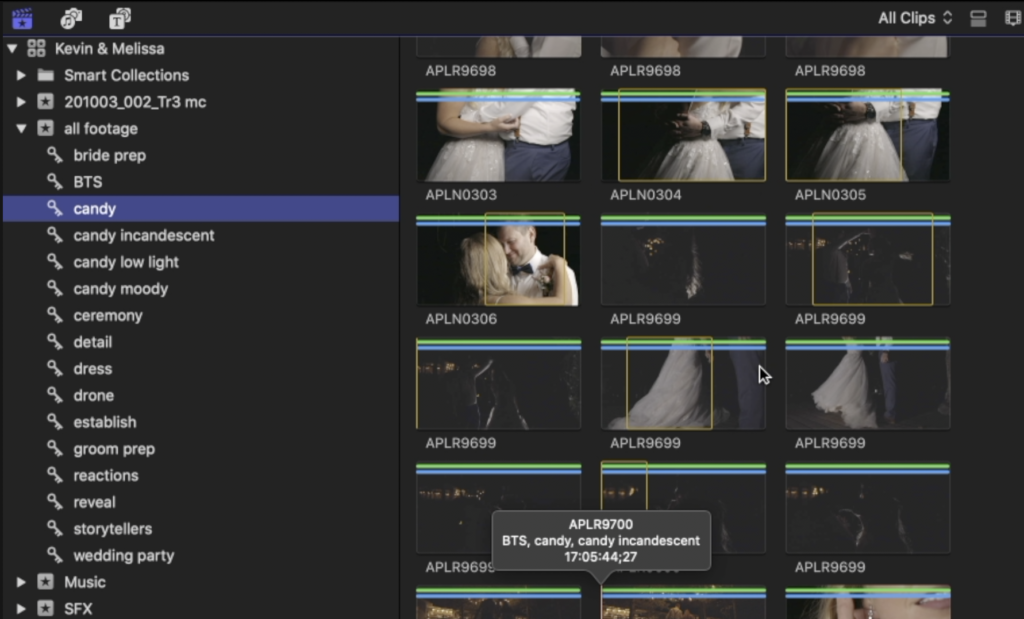
The bigger the project, the greater the need to be organized. Put your clips and assets in collections and folders according to their use or type. This, obviously, will depend on the kind of project you’re doing.
Taking the time in the beginning to organize will save you time later on when you get stuck or need to go back into your library to replace or add shots of specific instances.
TIMELINE
Take some focused time to build your timeline or your story. Lay down all your clips in the order you need to tell your story. At this phase of the game, don’t worry about adding graphics, fixing colours or playing with audio. Use markers on your timeline (or similar note-making function) to remind you of those elements for later stages of the edit.

After you’ve made your timeline, this is a good time to take a break, and come back and see your work with fresh eyes. It’s also a good time to trim the fat and refine your timeline.
GRAPHICS
Once you’ve trimmed and refined, this is where you add your graphic elements. This includes texts, overlays, photos, B-roll and… graphics, all as needed.
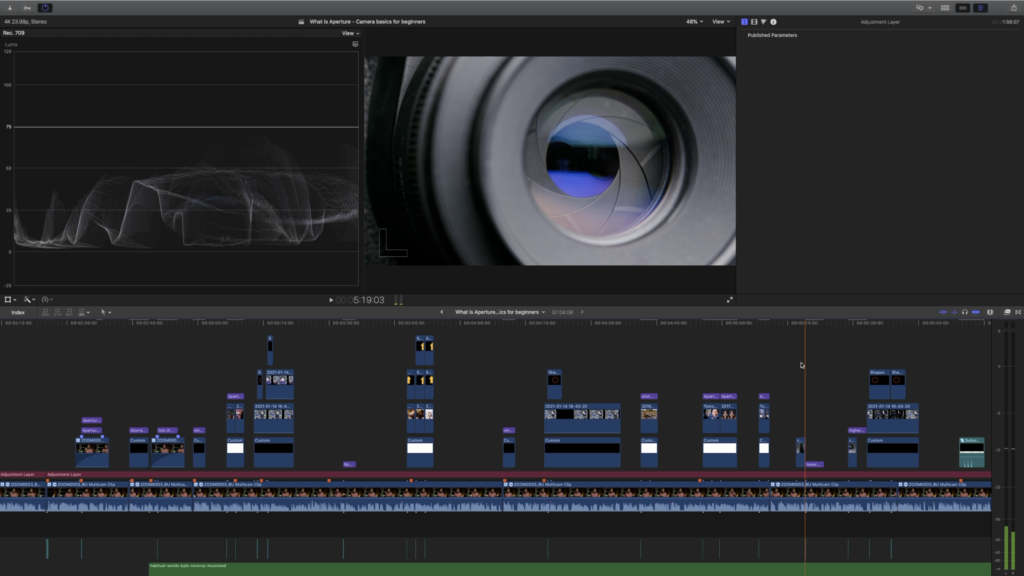
At this phase in the process, your computer is likely going to start rendering more often. You’ll hear your fan spinning more often and you may even start experiencing lag depending on how heavy your graphics are.
It’s important to have finalized your timeline before adding graphics, because if you start moving clips around with graphics attached to them, you’re going to get more lag from your computer’s need to render (i.e. – recalculate what the shot looks like in its new position).
Side note: Some editing programs, like Final Cut Pro, allow you to turn off background rendering. This can be a remedy if you can do without the live visual feedback.
AUDIO
Now that everything is locked in place, this is where I clean up the audio from my A-roll, or main timeline, and add sound effects and music. Once the sound effects and music are added, I balance the volume of all of these things so that voices and effects don’t get overpowered by music… or even vice versa.

Pro tip: Use editing headphones intended for critical listening to fine-tune your audio.
COLOUR CORRECTION
This is where you fix any overexposure or underexposure in your shots. You can also use this phrase to add back in some natural-looking contrast and saturation to your shots.
The key to this stage is that it’s not stylish; it’s just the basic “correction” of any shots that have any exposure issues. This is especially important if you shoot on a flat picture profile or LOG profile.

Before I jump into the last phase, I like to do another “watch-through” of my video just to make sure I’m completely happy with the storyline and clip selection. I watch the video in its entirety as if I were a viewer, but ignoring the lack of visual refinements.
COLOUR GRADING
If you’re a visual snob, this is the part you’ve been waiting for – to make things look pretty! This is where you can add your LUTs, stylize colours, sharpen and add noise reduction.
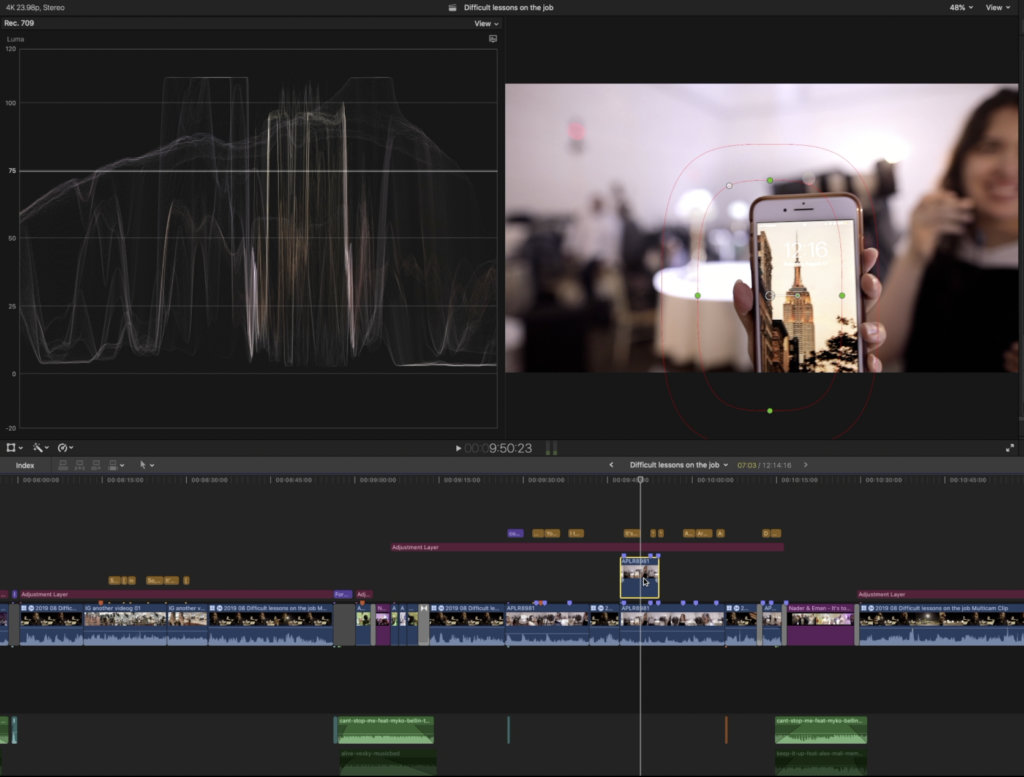
Hopefully, this gave you some insights into developing your own video editing workflow that will help you become a more efficient editor and enjoy the process more.
Until the next post, stay courageous!