What is aperture? Camera basics for beginners
If you’ve wondered how to get those smooth, blurred out backgrounds in your video and photos, one of the biggest factors in achieving that look is through understanding the aperture on your camera lens.
The aperture is one of the elements in the exposure triangle. The others are the shutter speed and ISO
Check out the posts on those other two to learn what they do.
See my Youtube tutorial below for explanations and examples or read below for quick points.
WHAT IS THE APERTURE
The aperture is the opening at the front of your lens. It’s also called the Iris (yes, like in the eye).
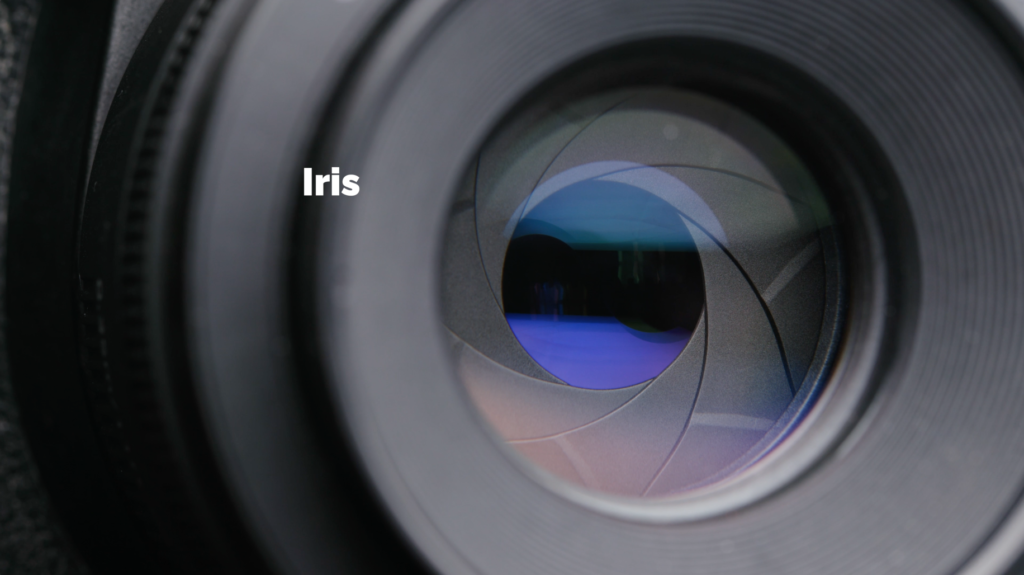
The iris is responsible for two things when it comes to photography and videography:
- Controlling the amount of light that hits your sensor and
- Allowing you to control your depth of field, which allows for blurry or sharper backgrounds
Before I go further, it would be good to explain what depth of field is.
The depth of field is the area of the picture that has acceptable detail and focus.
So if there’s an image in which I see my subject but everything else is blurry, this is called shallow depth of field.

Inversely, if a wider range of the image is in focus, like both the subject and background, this is referred to as a deep depth of field.
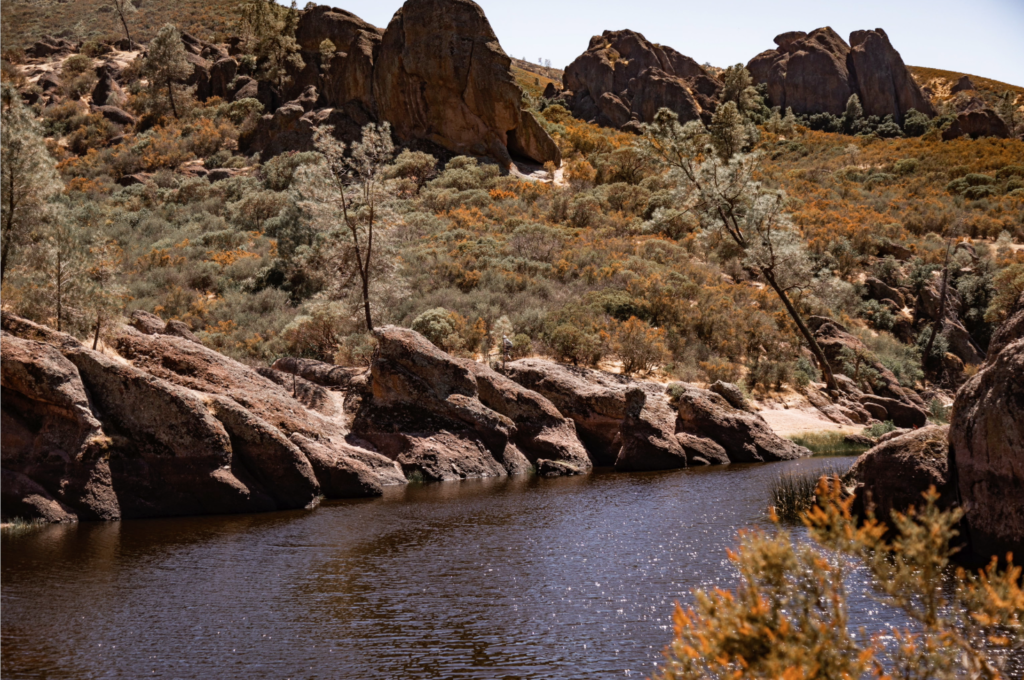
APERTURE SETTINGS
Your aperture is measured in F-stops. Lower F-stops mean the iris is wide thus giving us more light and a shallower depth of field. Higher F-stops translate to the exact opposite giving the same factors.
WHY USE LOW F-Stops
1) Better lit images in darker environments
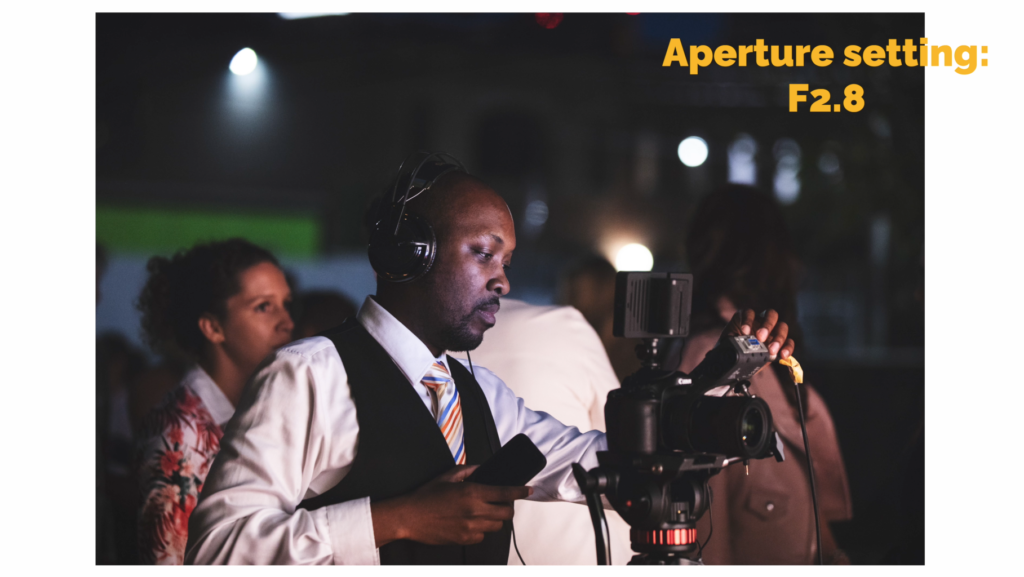
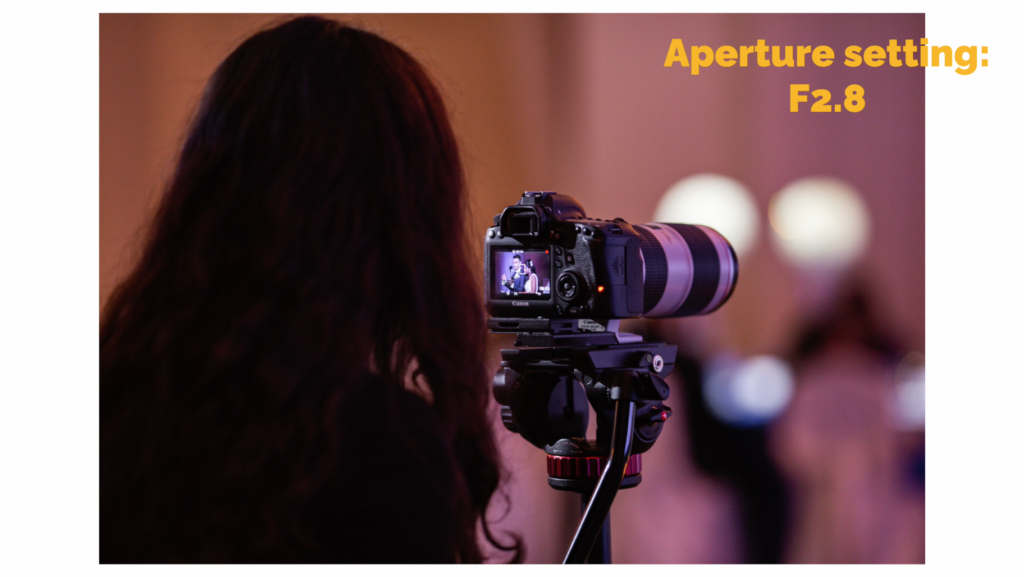
2) Isolate your subject in a shot or bring attention to specific areas of your frame. This is because human eyes will gravitate more towards things that are in fous
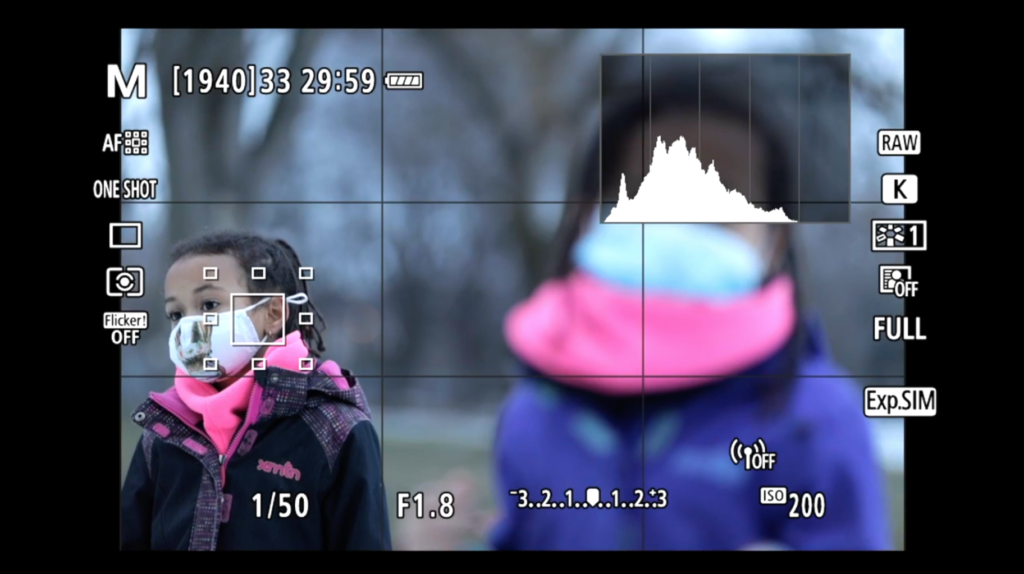
3) Create the bokeh look. “Bokeh” is a word taken from Japanese to mean “blur”.

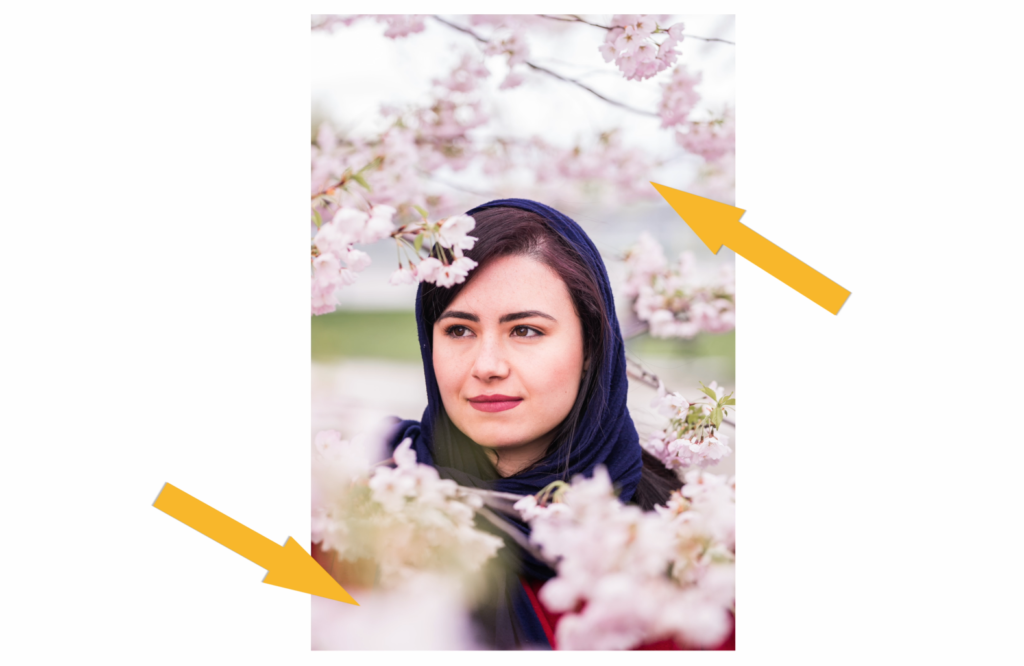
WHY USE HIGH F-STOPS?
1) Keeping subjects in different plains in focus, especially on more telephoto (zoomed-in lenses)
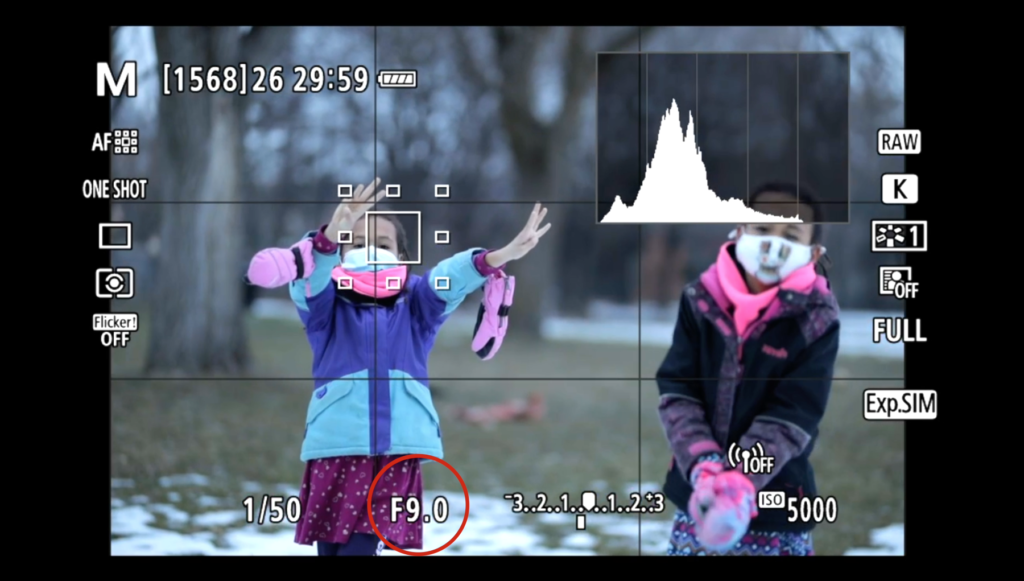
2) To capture super bright scenes. These scenes are so bright that you’re not able to reduce the light enough with your other settings.
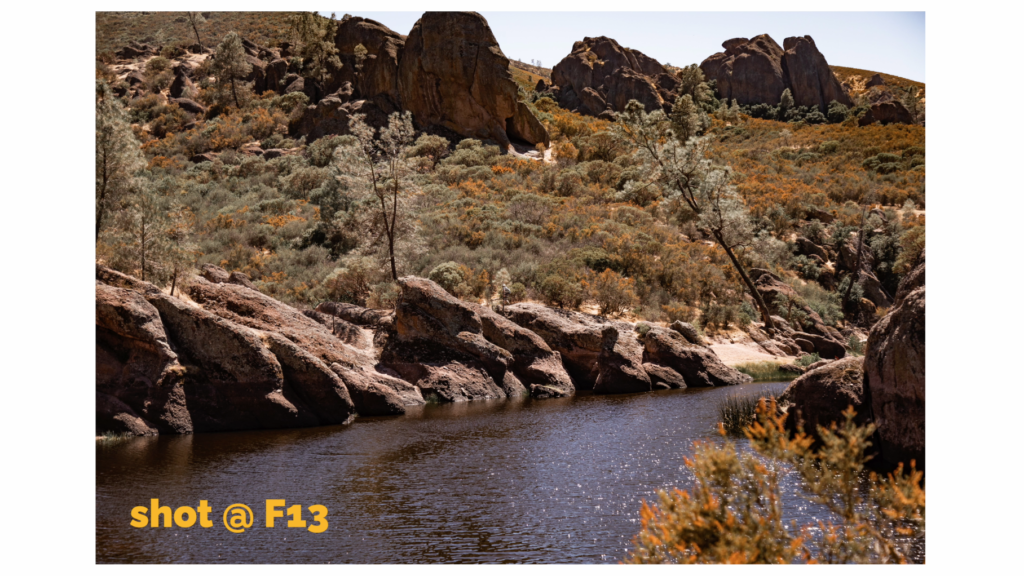
3) For subjects that fill the frame and you want to keep them in focus as much as possible. This is common in portraiture, for example, where we can sometimes zoom in close on the person and want all parts of their head -nose, eyes, ears and hair – in focus.
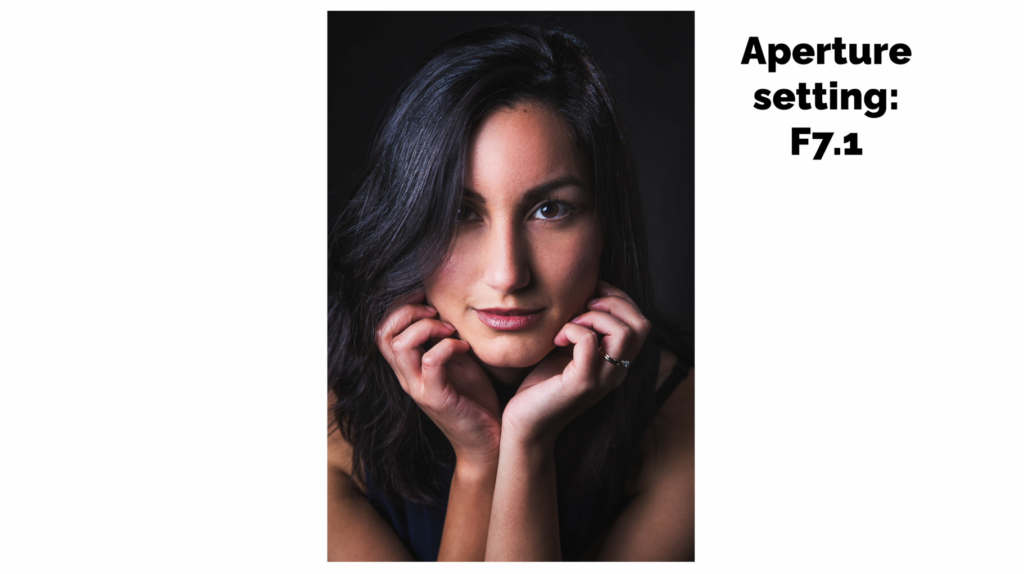
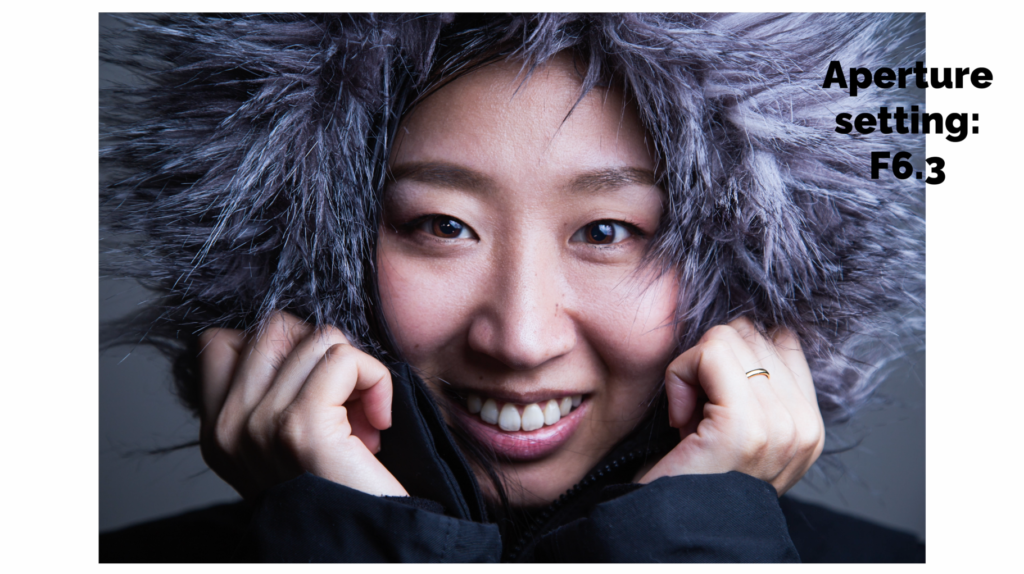
ALWAYS REMEMBER THE BALANCING ACT…
If you change your aperture after exposing your image, remember that you’ll need to regain exposure with one or both of the other settings.
Most photographers like to shoot with the lowest F-stops possible because of the abundance of light and the shallow DOF look. So you’ll find that they often manage exposure with ISO and shutter speed.
In any case, continue playing with these settings and find a workflow and look that works for you, your available gear, and your ever-changing situations.
There is no “correct aperture setting” to use.
That’s it for this post. For more detail, check out the accompanying Youtube tutorial.
Stay courageous, friends!
[…] is the third member of the exposure triangle, along with shutter speed and aperture. It’s a very simple concept so this week’s video is much shorter. Check it […]